
If you are an existing customer or starting a trial of Glance for Genesys Cloud, complete the following steps:
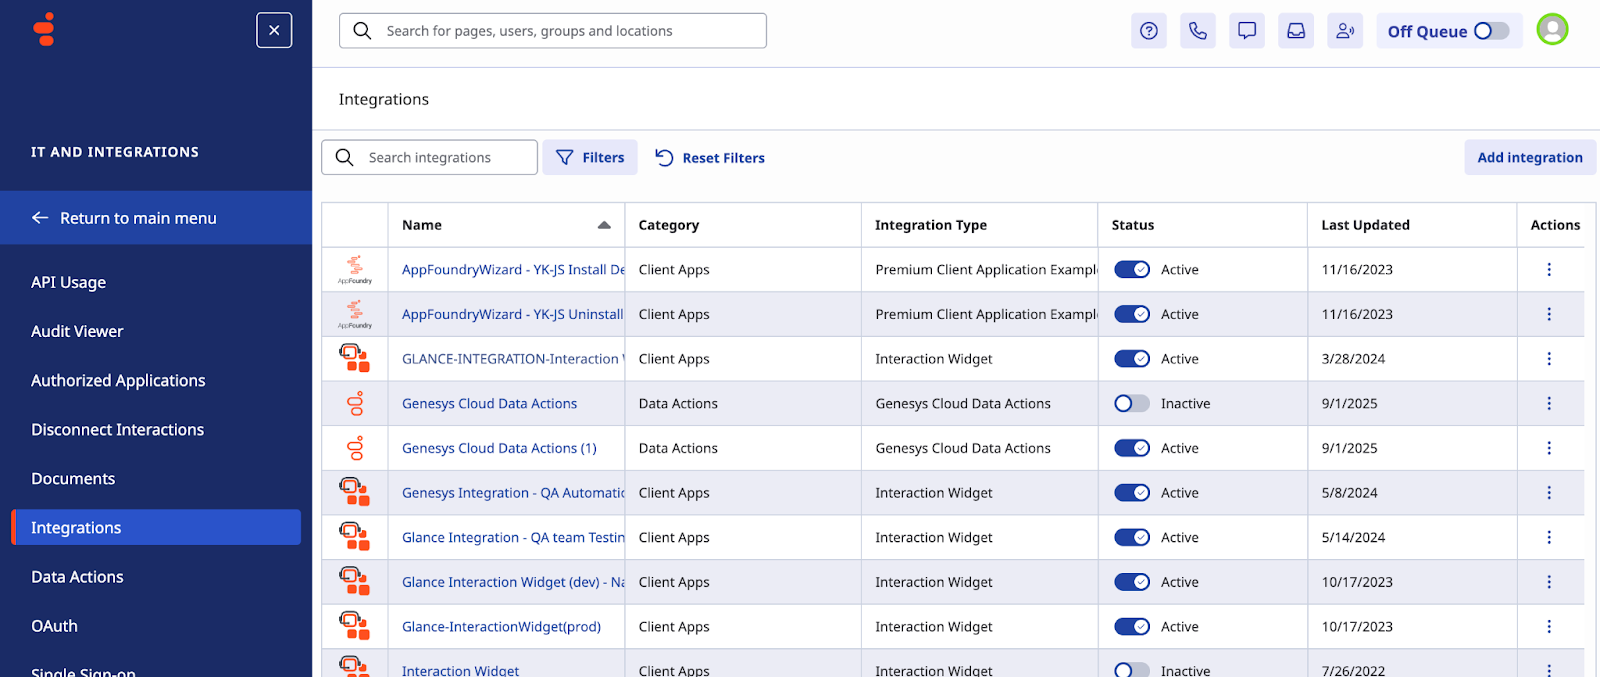
- Log in to your Genesys environment as an administrator and go to IT & Integrations > Integrations, and choose Add integration.
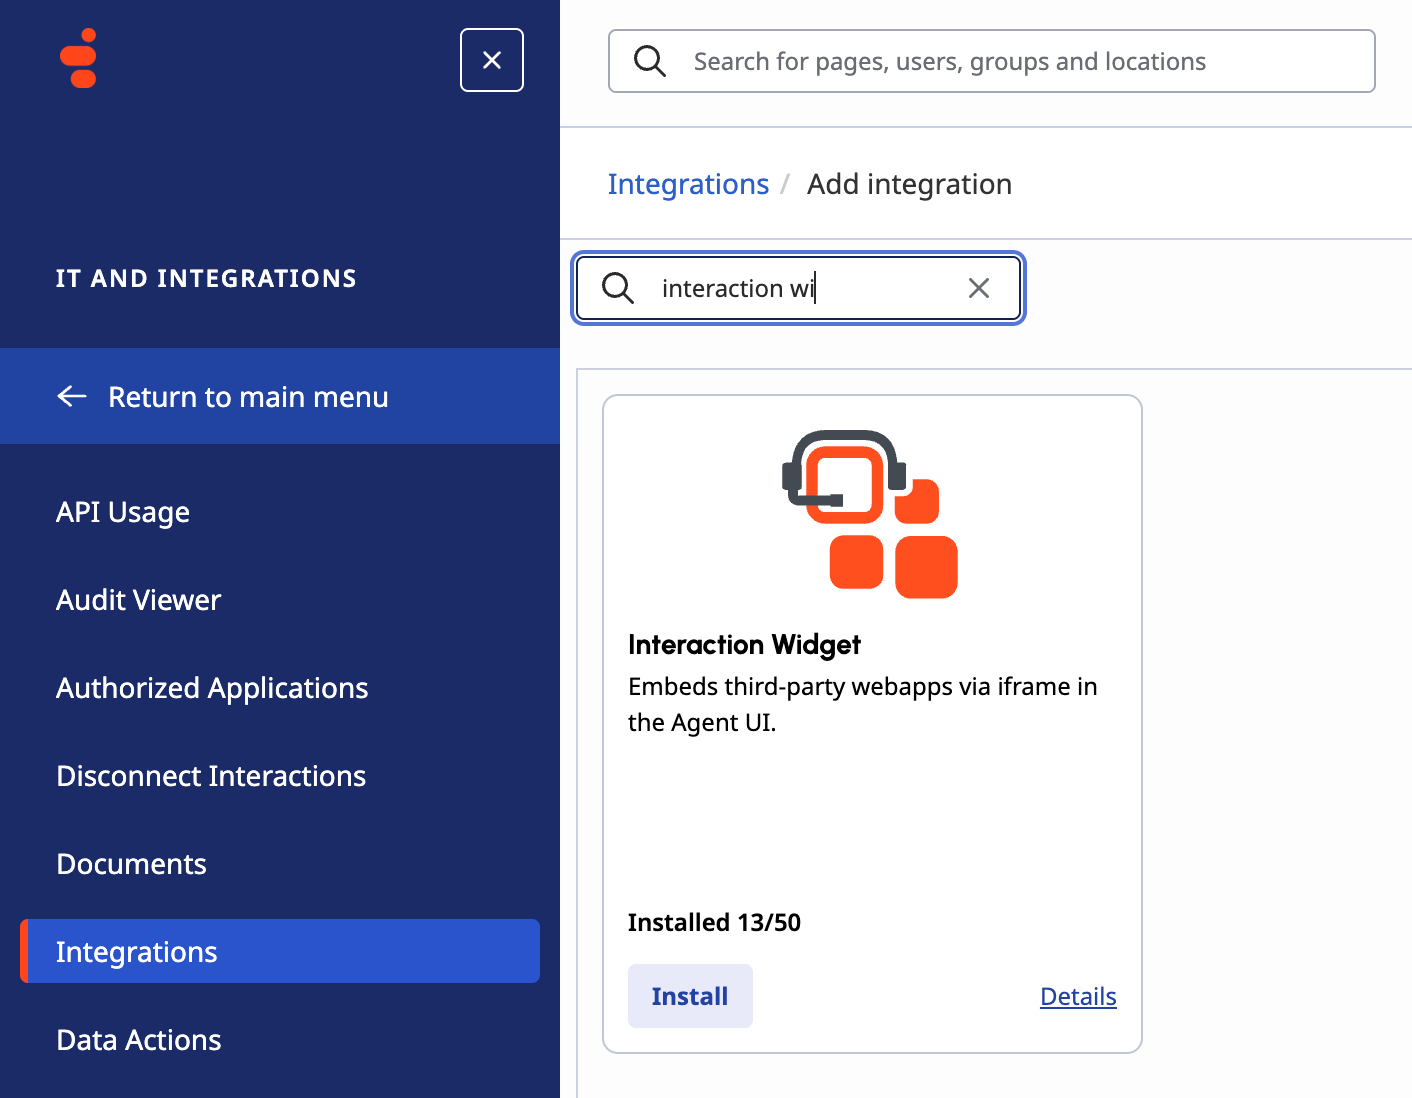
- From the list of available apps, choose Interaction Widget > Install.
- For Integration Name, enter Glance, then click Save.
- On the Configuration tab, enter the following: a. Application URL: Provided by Glance b. Iframe sandbox options:
allow-forms,allow-modals,allow-popups,allow-presentation,allow-same-origin,allow-scripts,allow-downloadsc. Iframe Feature/Permissions Policy:camera,clipboard-write,display-capture,fullscreen,geolocation,microphoned. Group Filtering: choose which groups have access to the application. e. Queue Filtering: choose which queues have access to the application. f. Communication:chat,call,callback,email,sms,line,facebook,instagram,twitter,open,webmessaging,whatsapp - Click Save & Activate. Now you can verify the app displays during interactions.
- Optional advanced configuration to add a Glance logo:
JSON
{
 "lifecycle": {
   "ephemeral": true,
   "hooks": {
     "focus": true,
     "blur": true,
     "bootstrap": true,
     "stop": true
   }
 },
 "icon": {
   "vector": "[https://logo.glance-integrations.net/](https://logo.glance-integrations.net/)"
 },
 "i10n": {
   "en": {
     "name": "Glance Integration for Genesys Cloud"
   },
   "en-us": {
     "name": "Glance Integration for Genesys Cloud"
   }
 }
}