
Cross Domain
Cobrowse sessions that span multiple domains require you to add a "helper page" to each additional domain.
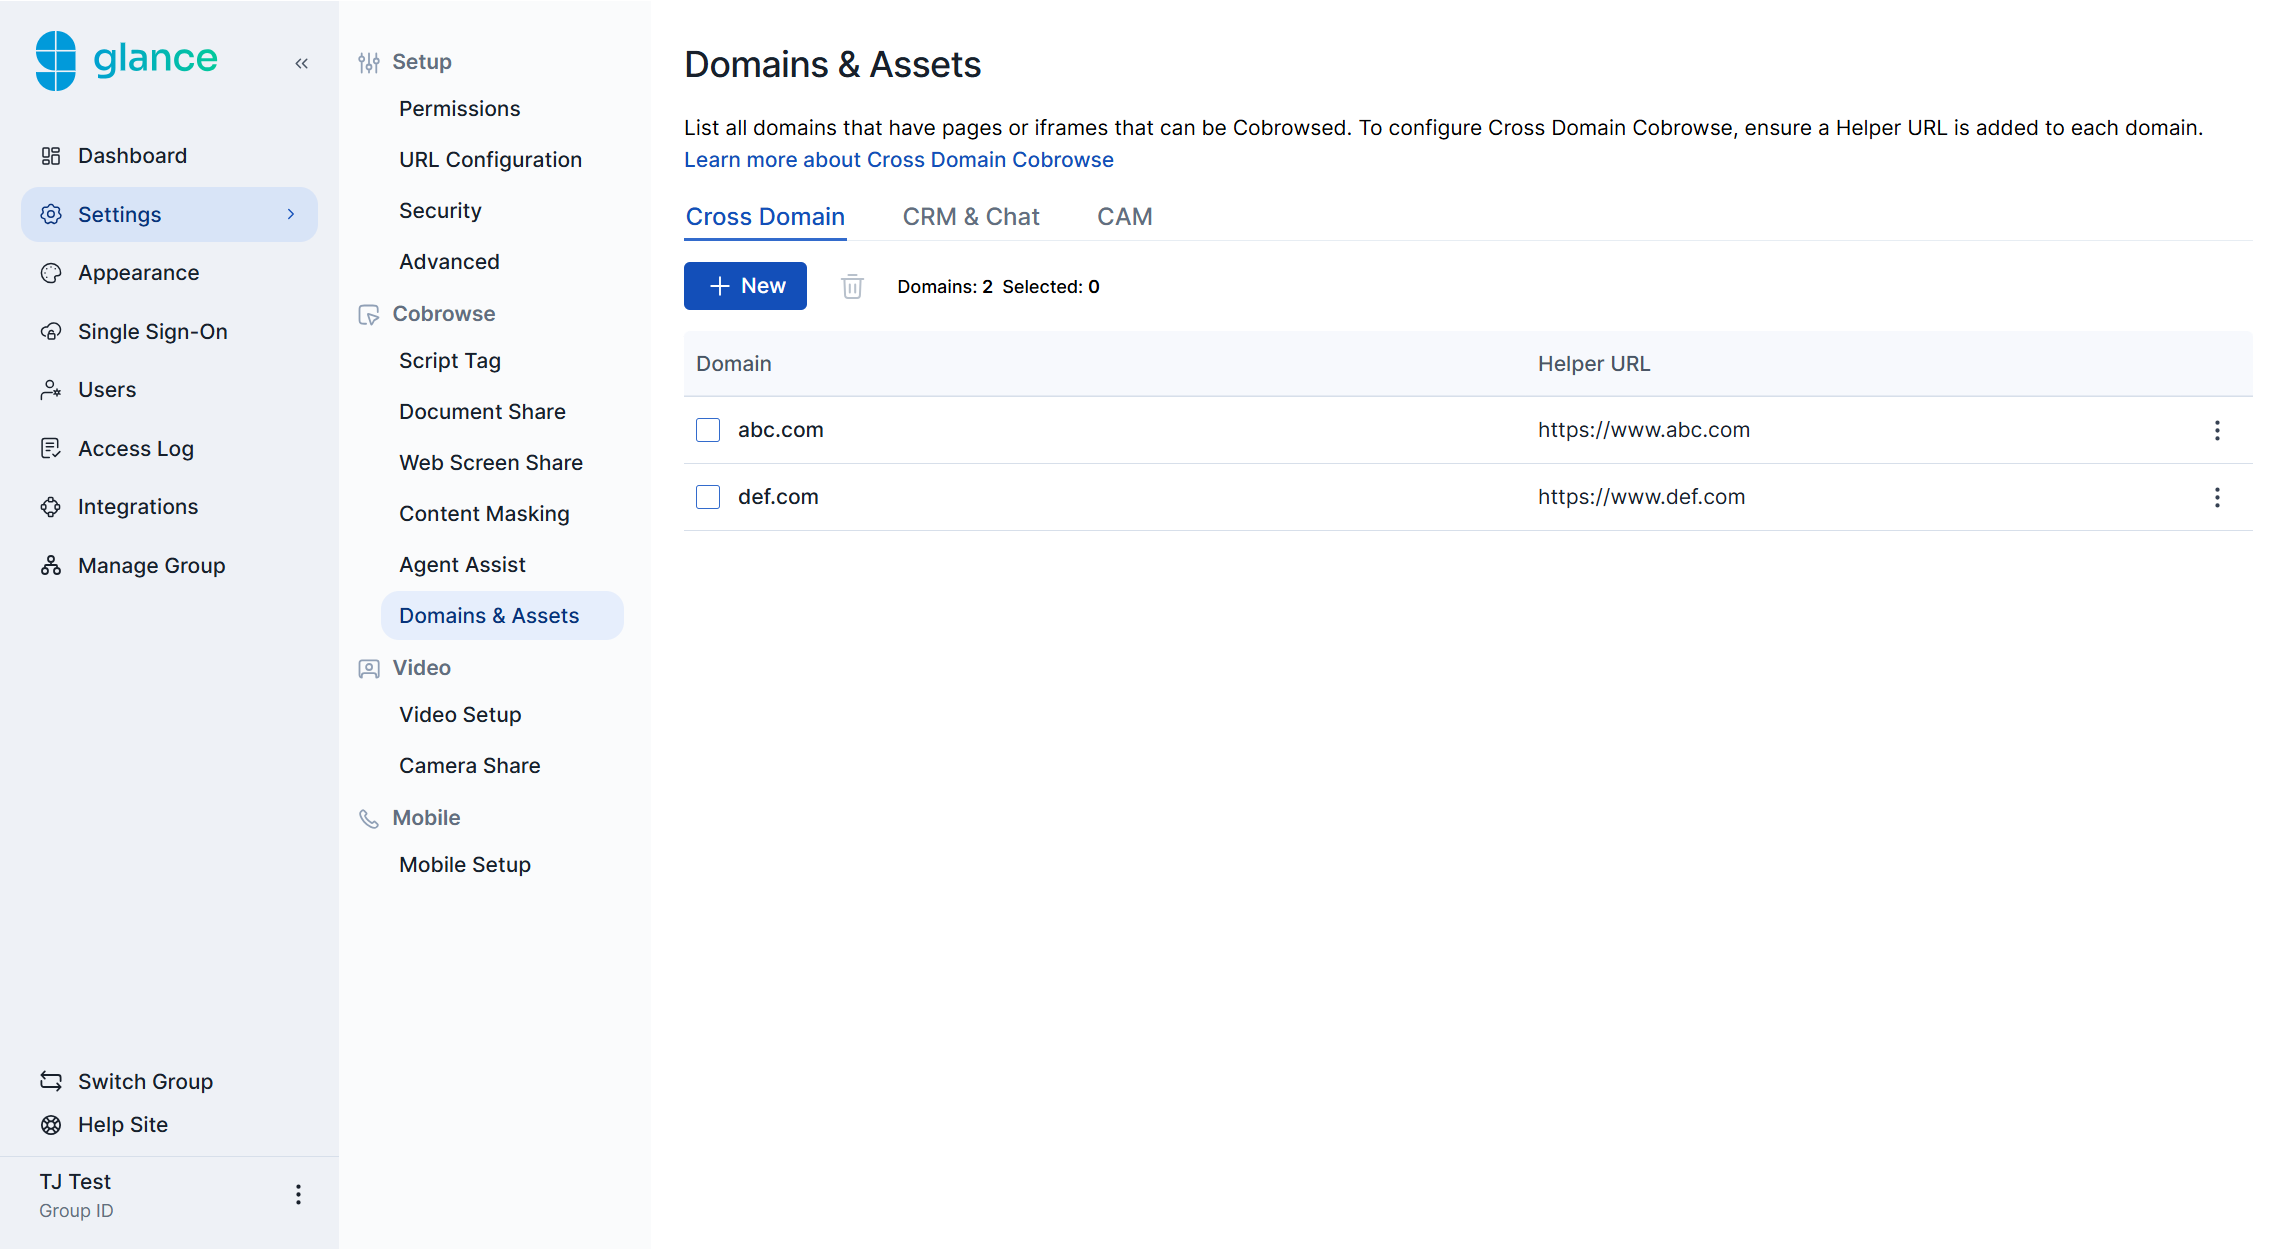
Refer to the Cobrowse Cross-Domain page for details on configuring helper pages.
CRM & Chat
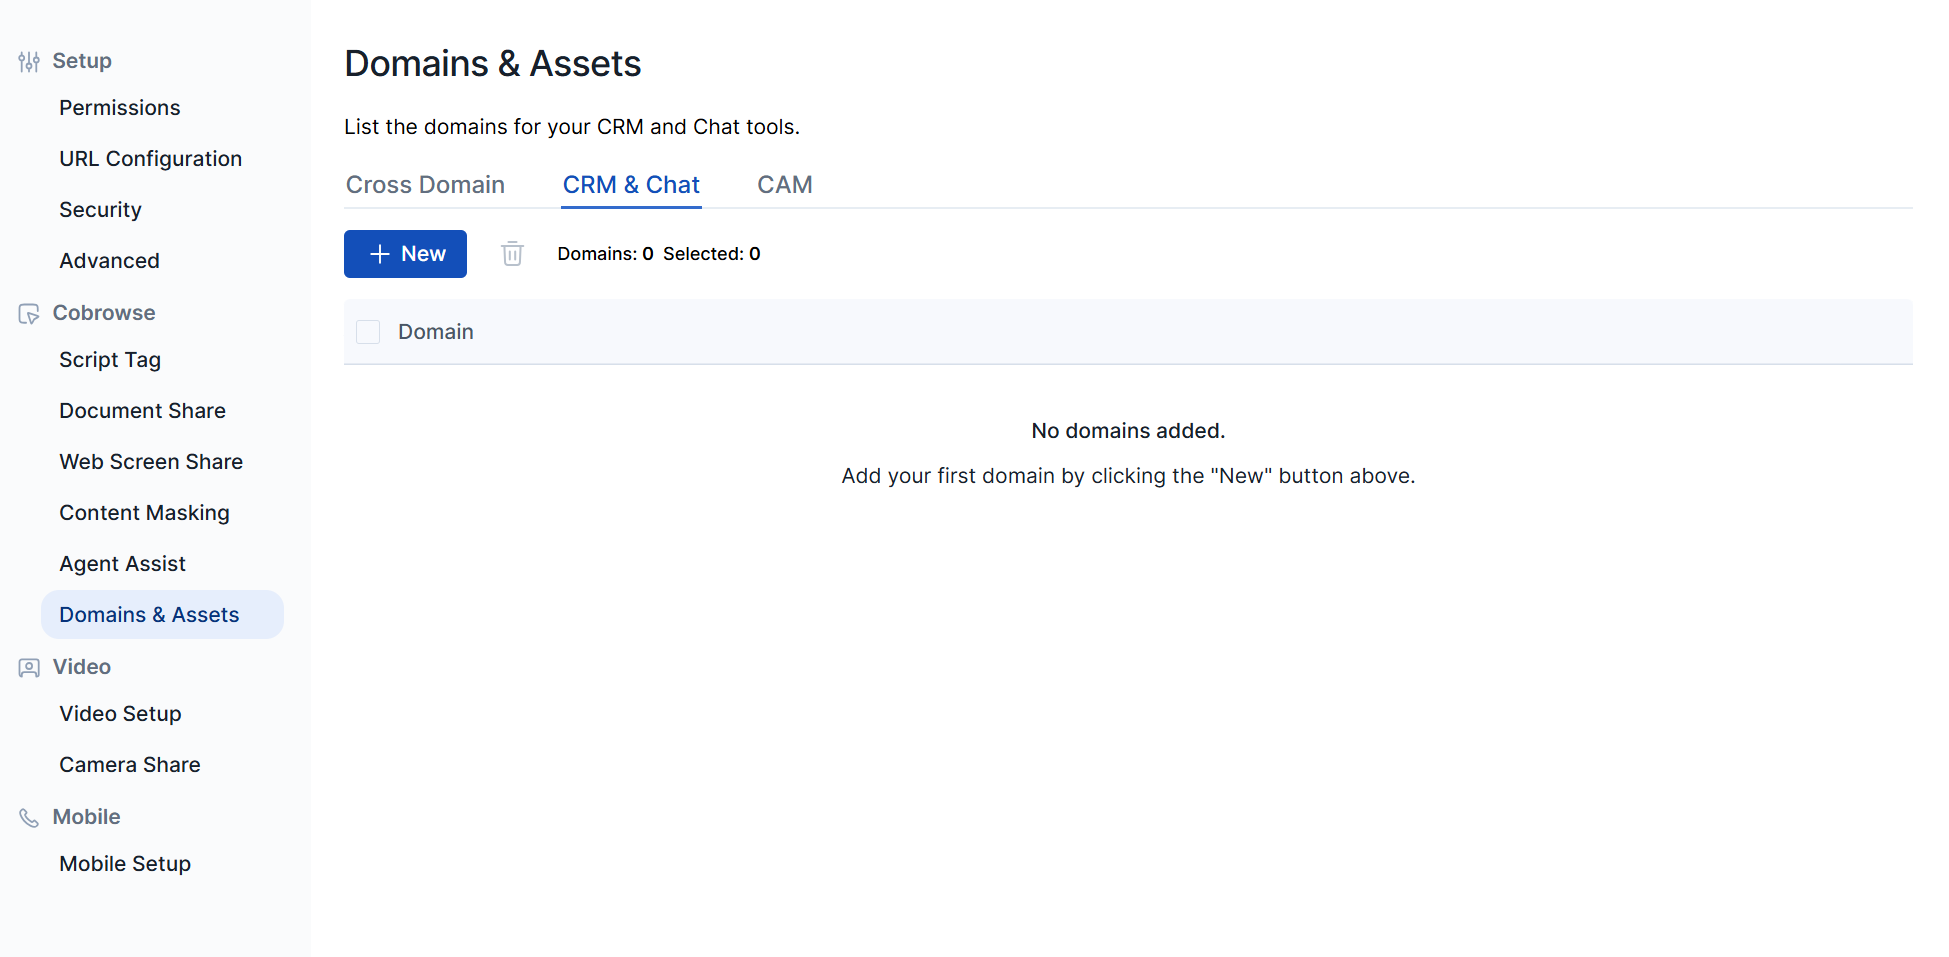
Glance uses the postMessage feature in a Visitor's or Agent's browser to send cobrowse commands between browser windows. To keep cross-domain posts secure, Glance needs to know which domains to trust:
- Add your chat window's domain to this list if it differs from the domain being cobrowsed. Glance will trust scripts running on any domain you list to use postMessage to send cobrowse commands (such as "start session") to any tagged page.
- Add the domain(s) of your Agent's CRM (e.g., Salesforce.com) or other Agent-side tool, so cobrowse commands can travel securely between the CRM/tool and the Agent's cobrowse viewer.
You can specify a domain, such as alphaco.com, or a full host name, such as www.alphaco.com.
CAM
In some scenarios, the Glance Cobrowse Agent Viewer may be unable to access certain assets required to fully render the browser page. When this occurs, agents may see missing images, styles, or fonts. While uncommon, this issue can arise if both of the following conditions are met:
- A session cookie is required to access the asset.
- The page's Content Security Policy (CSP) blocks XHR requests.
If this occurs, we recommend contacting Glance Support to determine the best solution. In many cases, a small adjustment to the CSP can resolve the issue.
Alternatively, assets can be uploaded through Cobrowse Asset Management to ensure proper rendering.
To resolve issues with assets not loading in the Agent Viewer, follow these steps for each missing resource:
- Identify the resource that is failing to load. On the agent side, open the browser's Network tab and look for fonts, images, or CSS files returning HTTP error statuses.
- On the visitor side, use Chrome developer tools to locate the resource (click on Application and navigate to the resource under Frames on the left side).
- Save the resource to your hard drive.
- For stylesheets, right-click and select Save as.
- For images or font files, you may need to save them to the Overrides area of Chrome DevTools.
- Right-click the resource and choose Copy URL for future reference.
- In the Network tab, check the Content-Type header in the response for the resource request.
- Navigate to Portal > Settings > Domains & Assets and click the CAM tab.
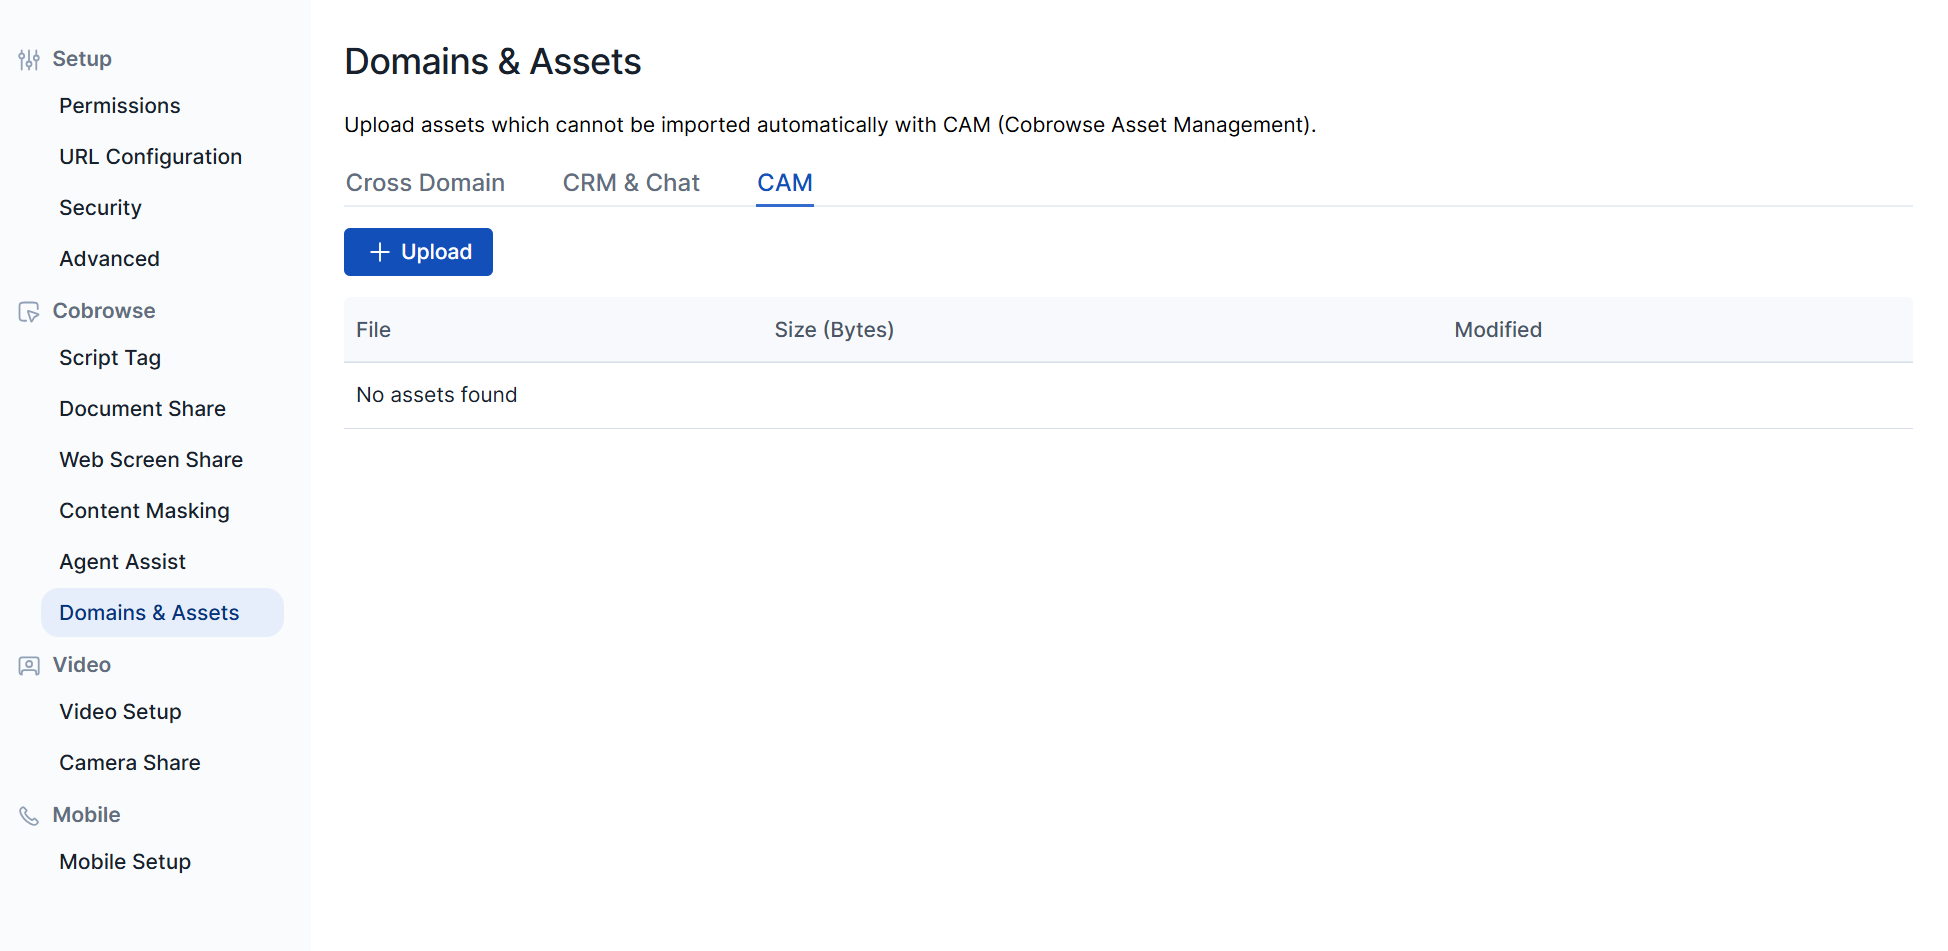
- Click the Upload button.
- Paste the full URL into the Asset URL box, including any query string parameters.
- Select the saved resource file for upload.
- Click Upload.
Once uploaded, agents can retrieve and view these assets correctly in their session view.