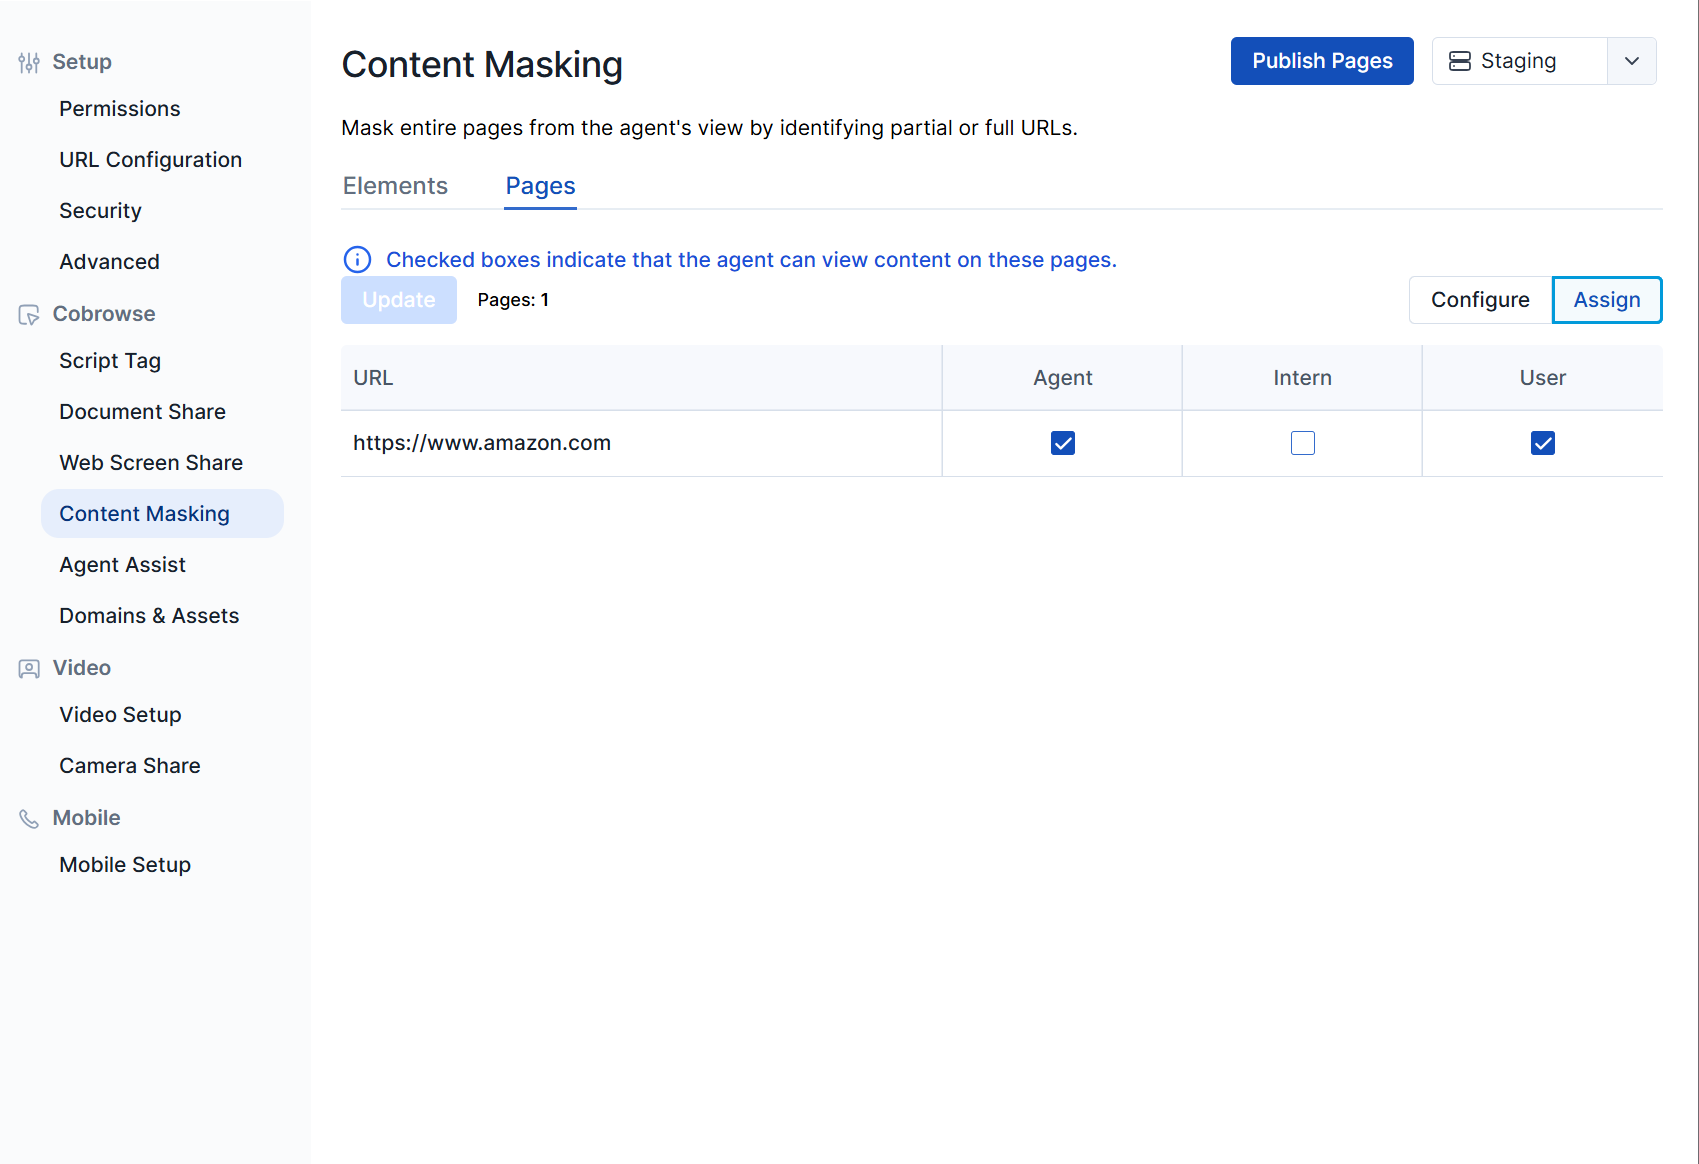
Pages or elements can be masked from the agent's view using this section.
Masking Elements
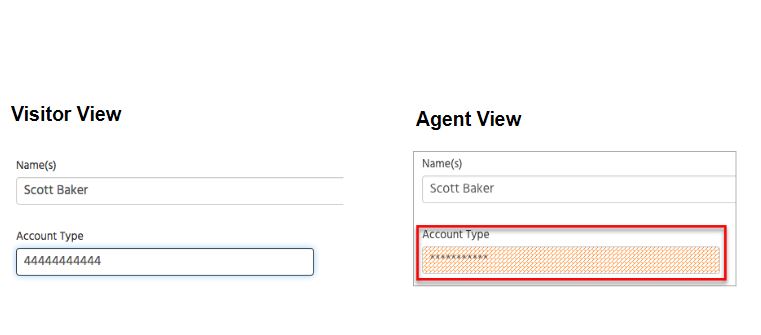
The contents of specific element fields, such as credit card numbers or password fields, can be masked from view by agents. Masked elements can be identified by any CSS selector, including the html name or id attribute. When a text element is masked, agents will only see asterisks in their view. Agents will not be able to see the status of masked dropdown boxes, radio buttons, or checkboxes.
You can also mask non-input page elements. Masking an element also masks any nested elements and input fields that are contained by the masked element. The dimensions of masked elements are preserved, but text content and images are removed. The values of HREF and SRC attributes are cleared and the contents of SVG audio and video tags are removed.
Keep in mind the following:
- If a form field is identified to be masked and to be edited, masking will take priority.
- These selectors are linked to the table in Account Management, meaning any edits to this list will be reflected in both locations. However, assigning these elements to roles is exclusively managed in this section.
- Glance masks page elements which match any of the CSS selectors specified, as well as elements with
class="glance_masked"or attributeglance_masked="true". Regardless of role, these elements will always be masked.
Configuring Masked Elements
You can configure masking from the Content Masking page. No customer website modifications are required to add or change masked field definitions.
To configure the masked elements:
- As an administrator, navigate to Settings > Content Masking > Elements.
- Click the New button.
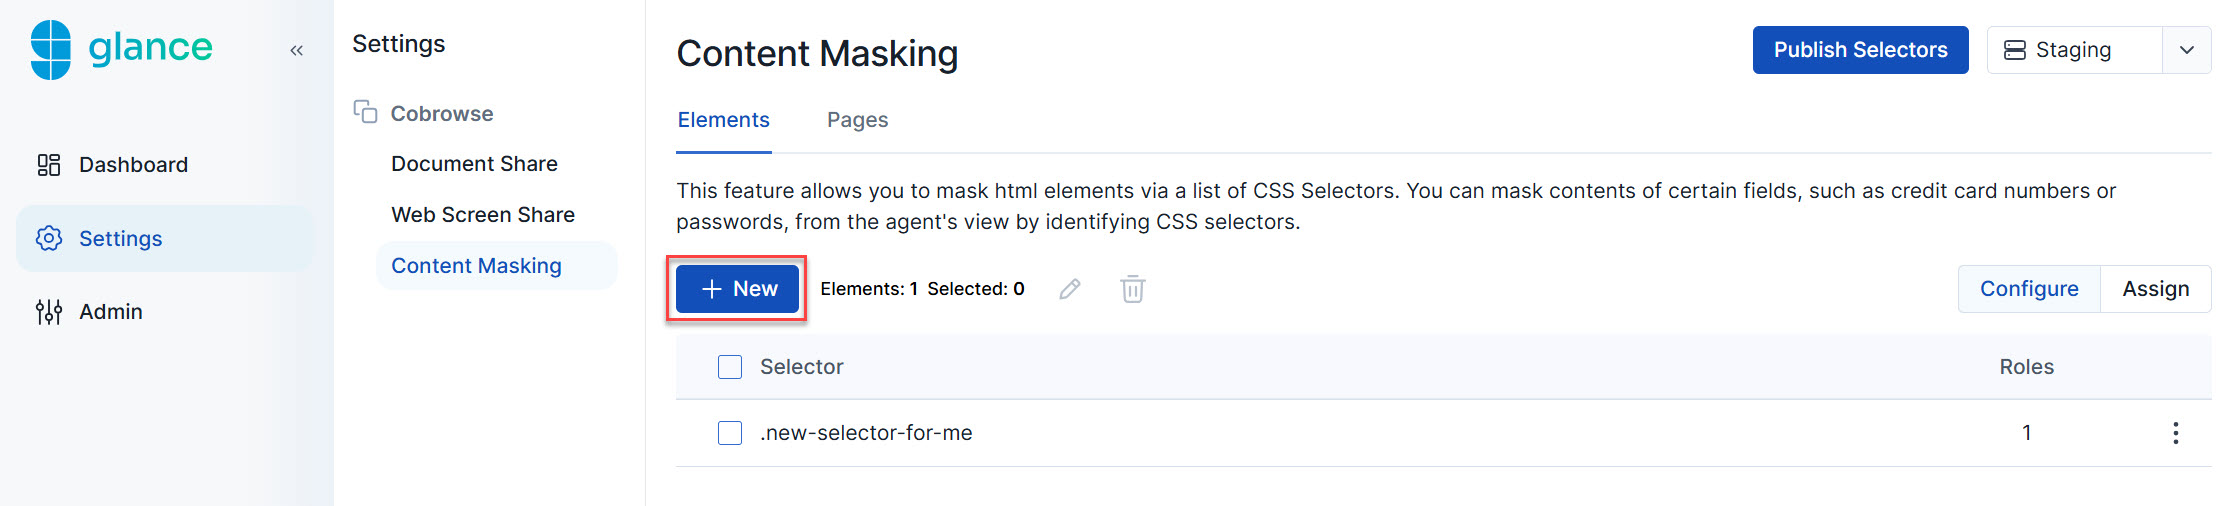
- Input the element that needs to be masked in the Selector Identifier field and click Create.
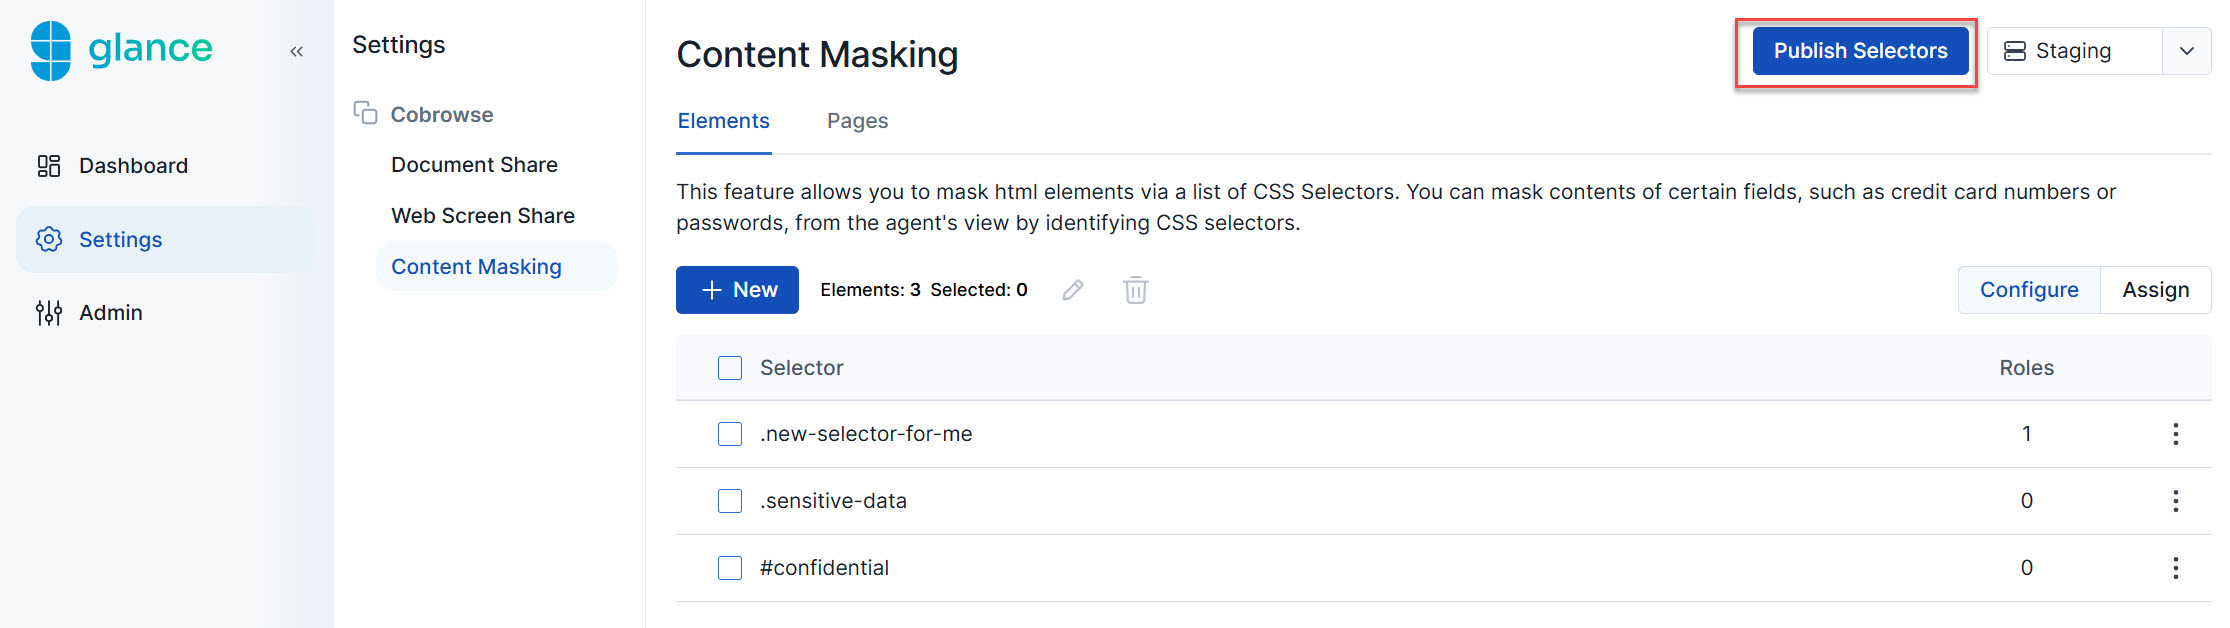
- After you test your changes in staging, click Publish Selectors.
Verifying Masked Elements
You should run a Cobrowse session on the new version of your website on a staging server to verify that all content is correctly masked. A good practice is to add the attribute glance_masked="true" to all elements that should be masked. You may also add the glance_masked class to those elements. This way, even if the elements' ids or other attributes change when you update your website, the elements will continue to be masked.
If you want to download a CSV file of your masked elements for reporting purposes, click the Export button.
Glance auto-masks element fields with the attribute type="password".
Role Based Masking
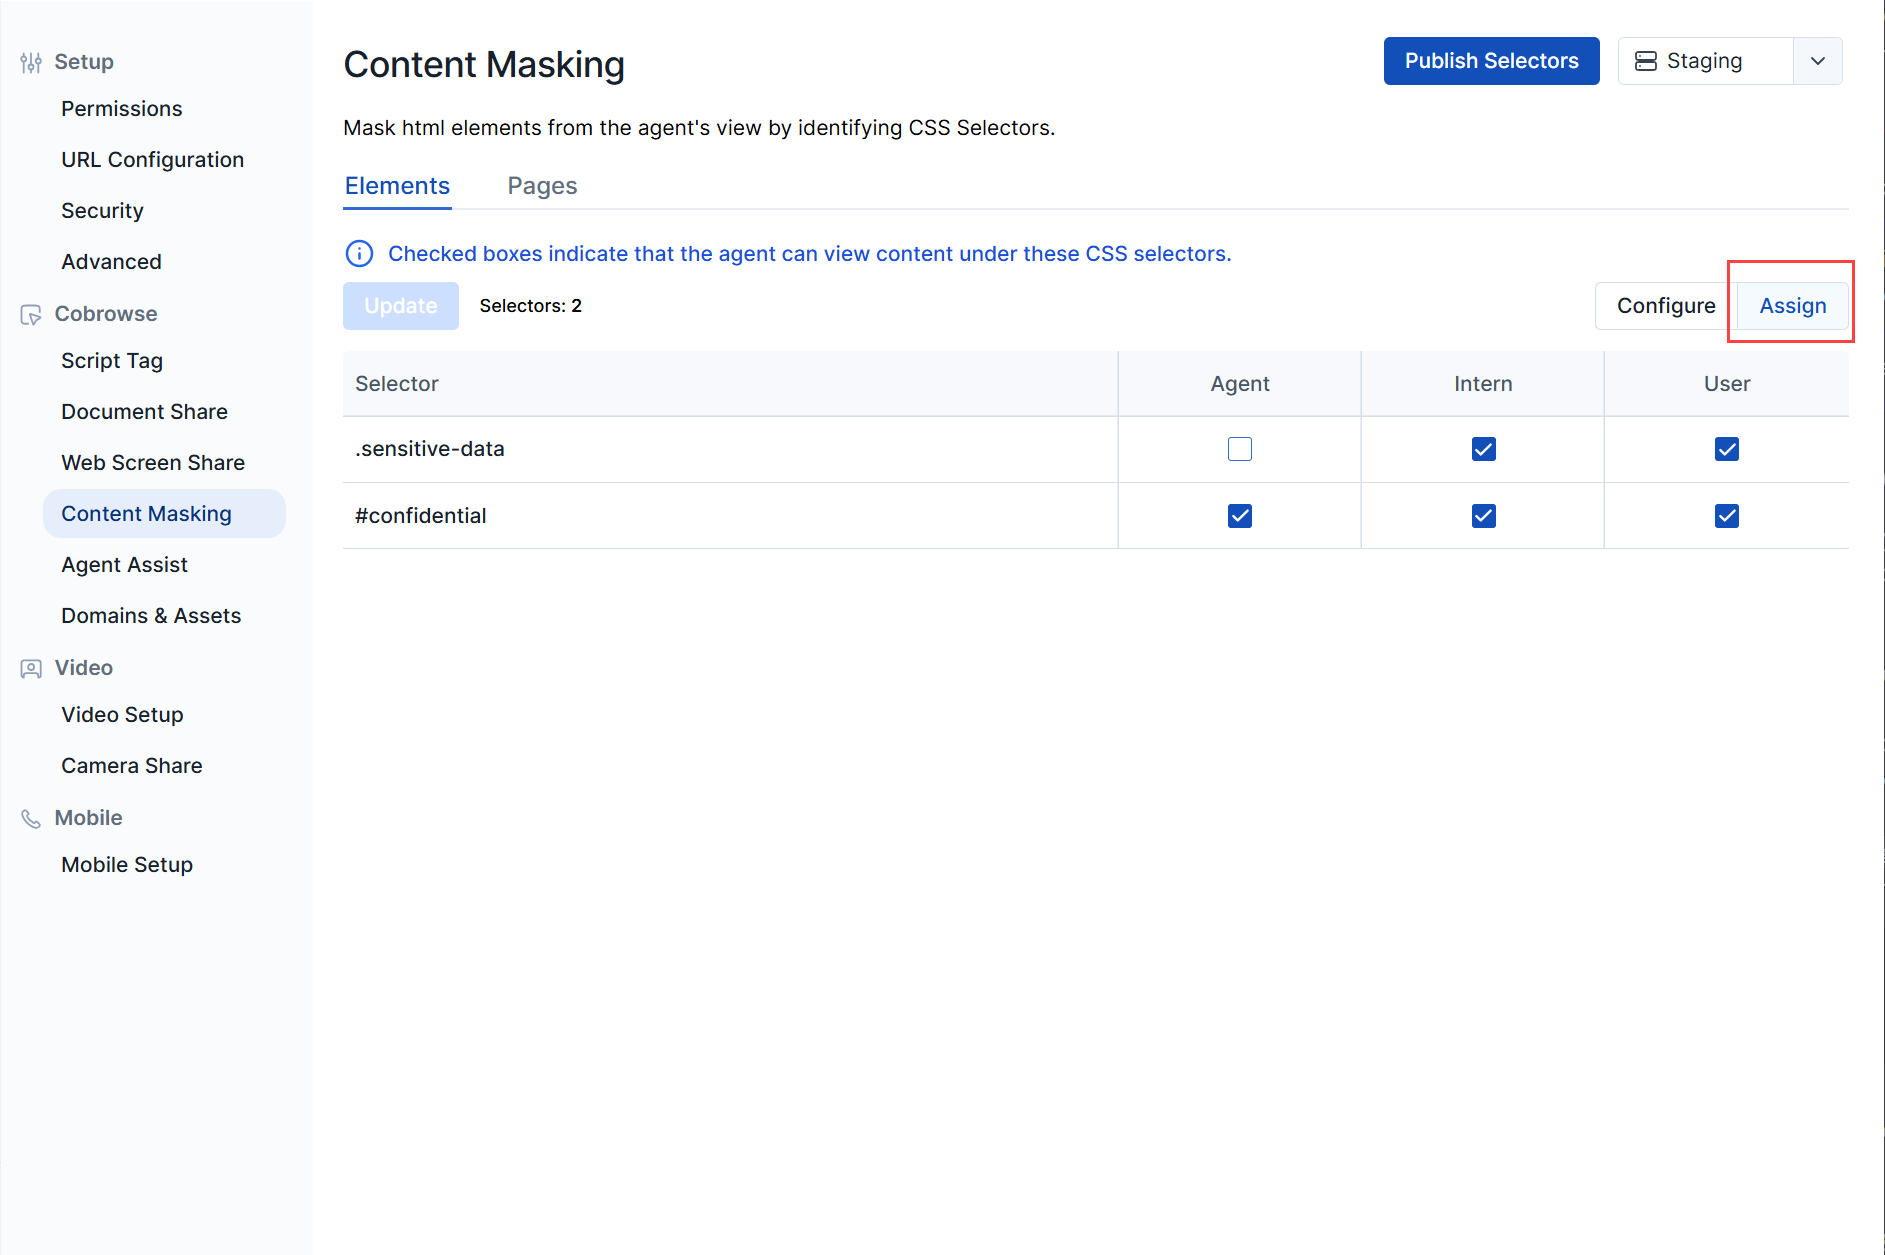
Click the Assign tab to assign specific elements to certain roles.
Styling Masked Elements
You can apply special styling to masked elements during a Cobrowse session, to indicate to both visitors and agents that an area is masked. This can be accomplished by adding custom CSS to the Cobrowse button customization tool. Use the selector [data-gid][glance_masked=true] to select only masked elements during a session.
Agent-Side Masking
By default, no CSS is applied to a masked element, so the agent will see blank white space. Contact Glance to apply the agent-side CSS.
Visitor-Side Masking
To display a masking indicator, such as an orange border around masked elements, use the following CSS. This example will work if you have added glance_masked="true" to the masked elements on the page.
[data-gid][glance_masked=true] {
   border: 2px solid orange;
}
Masking Pages
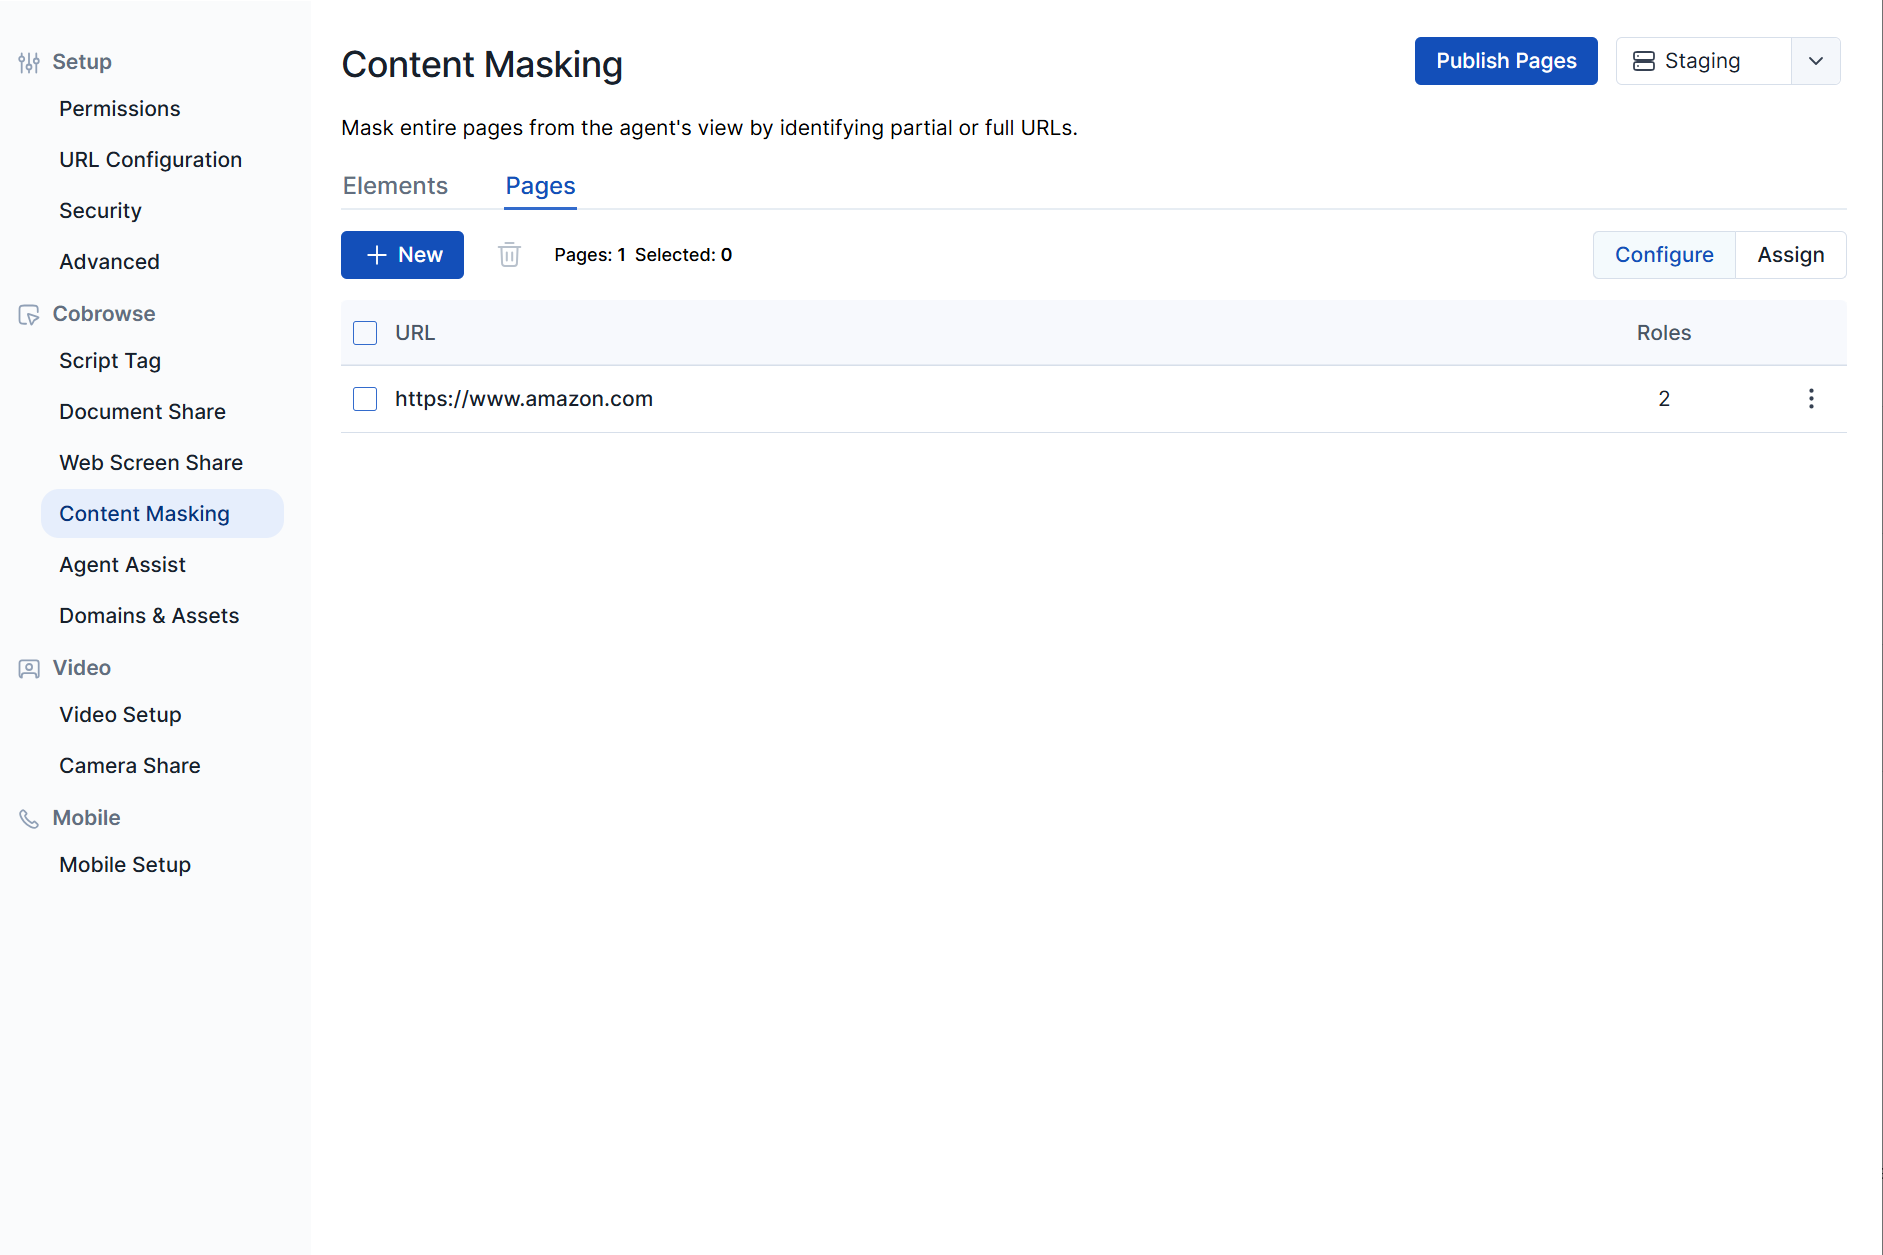
Click the Pages tab to mask entire pages from the agent's view based on the URL entered.
Role Based Masking
Click the Assign tab to assign specific URL's to certain roles.